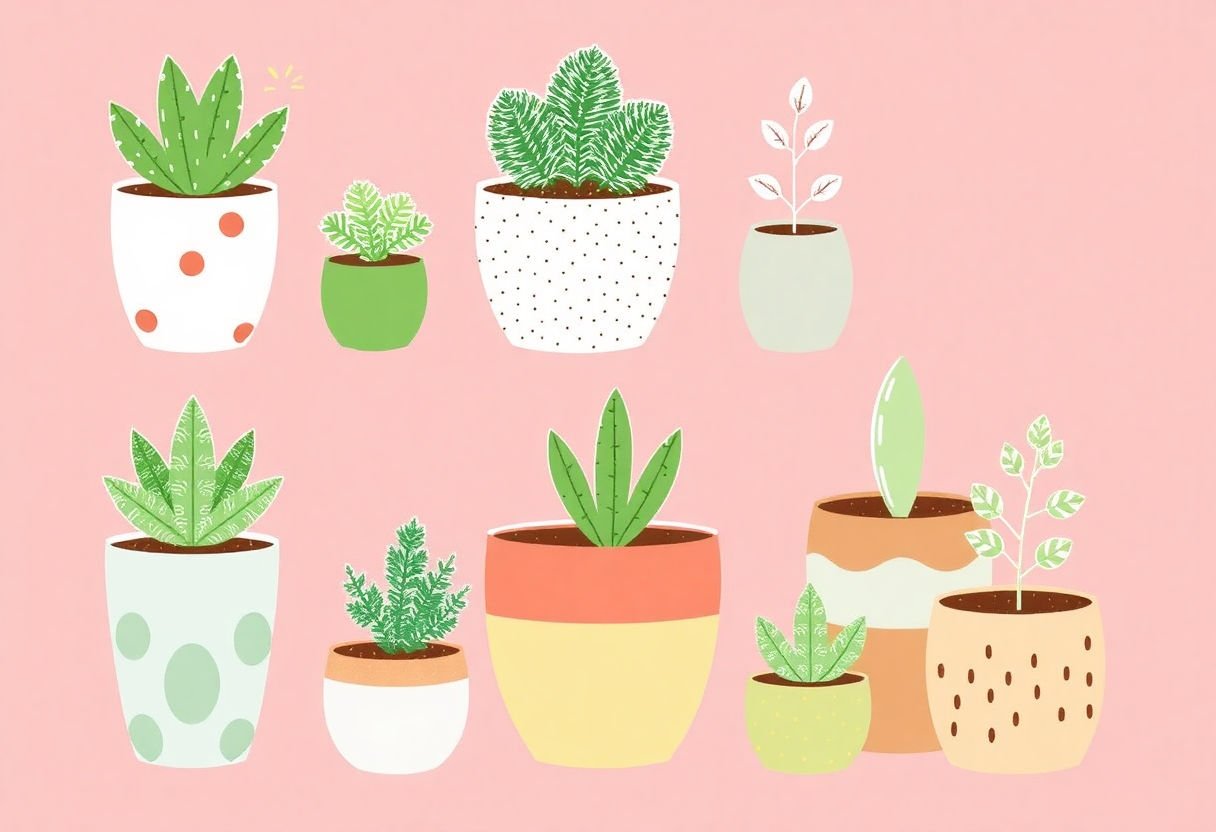
Crafting your own pots for succulents offers a fun way to showcase your creativity. Choose unique materials like clay or concrete to build durable pots. Consider adding artistic designs using colors and patterns. Try using recycled items for an eco-friendly touch. With step-by-step guides and tips on care and design, you can make beautiful, lasting pots. Join the fun and learn how to create eye-catching homes for your succulents. This journey into DIY pot-making will inspire and invigorate your plant displays, bringing a personal touch to your space.
Key Takeaways
- Choose materials that enhance both the style and durability of your succulent pots.
- Use colors, patterns, and textures to create visually appealing pot designs.
- Reuse household items and recycled materials to make eco-friendly pots with a unique touch.
- Apply decorative touches like paint or tiles for a standout design.
- Remember that proper care keeps your pots looking good and lasting longer.
Choosing the Right Materials
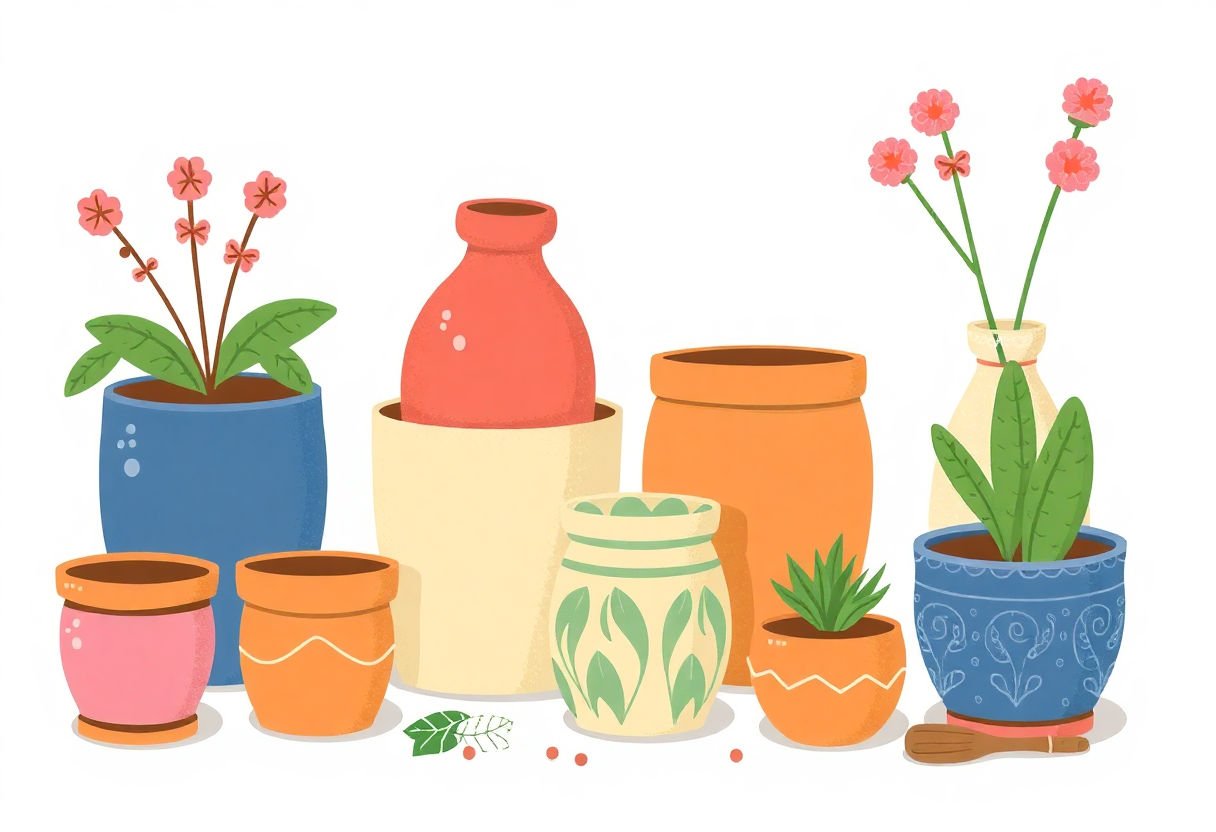
When making pots for your succulents, choosing the right materials matters a lot. Start by thinking about how each material will help your plants and your pot’s style. Some materials work better than others depending on what you want.
Clay is a classic choice for pots. It holds moisture well and helps plants stay hydrated. Plus, clay pots give a natural look. If you’re aiming for a traditional style, clay could be the best pick.
Concrete adds a modern touch to any space. It can be shaped into many forms. Although heavier than other materials, concrete keeps your plants safe even outdoors. Concrete pots offer strength and style all in one.
Do you like upcycling? Use items around the house, like old wooden crates or glass jars, to make unique pots. This method cuts waste and keeps your pots interesting. Imagine your succulents growing in something that was once discarded.
Each material has pros and cons. Here’s a simple table for quick comparison:
| Material | Pros | Cons |
|---|---|---|
| Clay | Holds moisture well | Breakable |
| Concrete | Very durable | Heavy |
| Upcycled | Eco-friendly, unique | Might need creativity |
Think about your needs when you choose a material. Do you want something light and airy or solid and strong? Whatever you pick, use a material that suits the look and feel you want for your succulent display.
Design Considerations for Succulent Pots
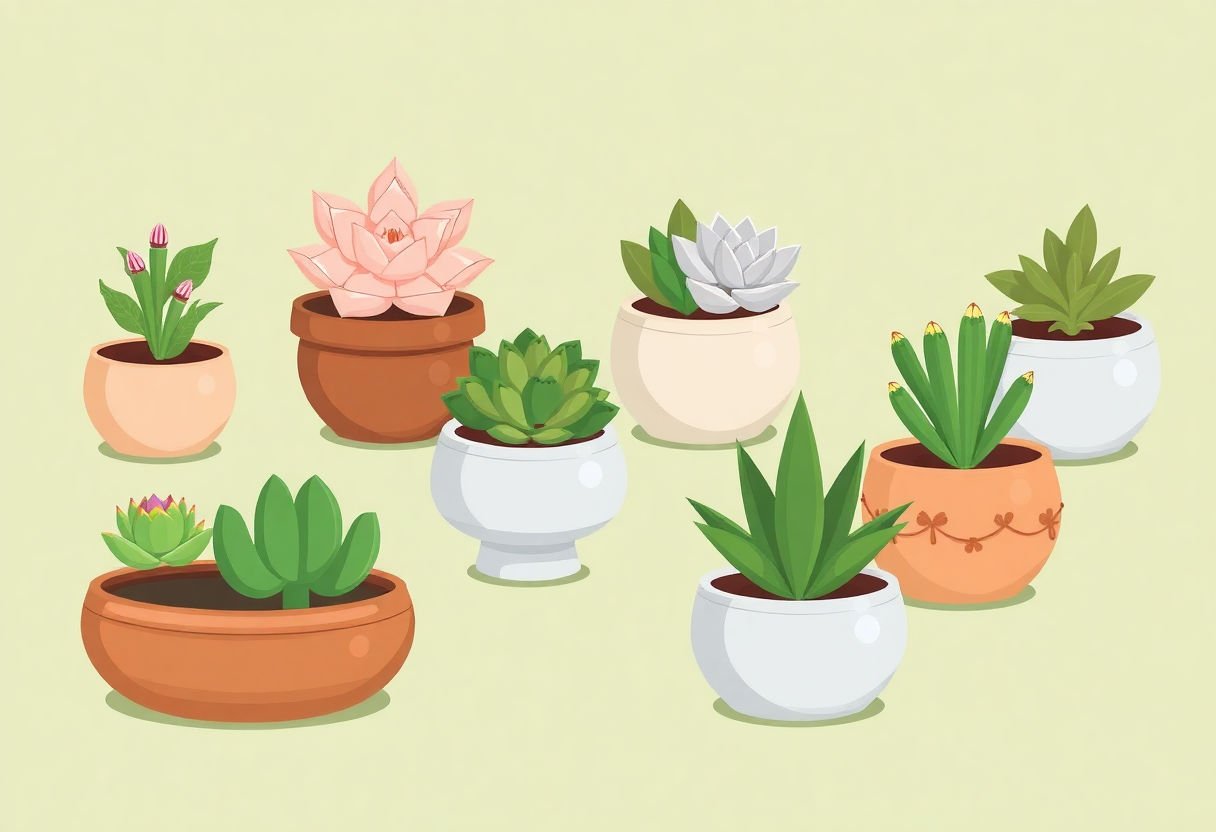
To create a beautiful succulent pot, design plays a big role. Start with color schemes. Bright colors can make a pot cheerful. Soft colors might create a calming feel. Think about where you will place the pot. Will it stand out or blend in?
Patterns add a touch of creativity. Stripes, dots, or zigzags make the pot lively. You don’t need to stick to one pattern. Mixing two patterns can create interesting shapes and designs. Avoid using too many patterns, though. It might look cluttered.
Textures offer a pleasant feel. Smooth surfaces give a modern look. Rough textures can bring a rustic charm. If crafting with clay, try carving designs while the clay is soft. You can even add sand or pebbles to wet clay for a gritty finish.
Remember to think about functionality too. Succulents need pots with drainage holes. They protect the roots from sitting in water. This is key in keeping the plants healthy. Size matters, too. A pot that is too small won’t give the roots space to grow. Too big, and the soil might stay too wet.
Quotes to inspire: “Art is not what you see, but what you make others see.” – Edgar Degas. Let your pot design make viewers see the beauty you created.
By blending colors, patterns, and textures, your succulent pot will not only be a home for your plant but also a piece of art.
Step-By-Step Guide to Handmade Clay Pots
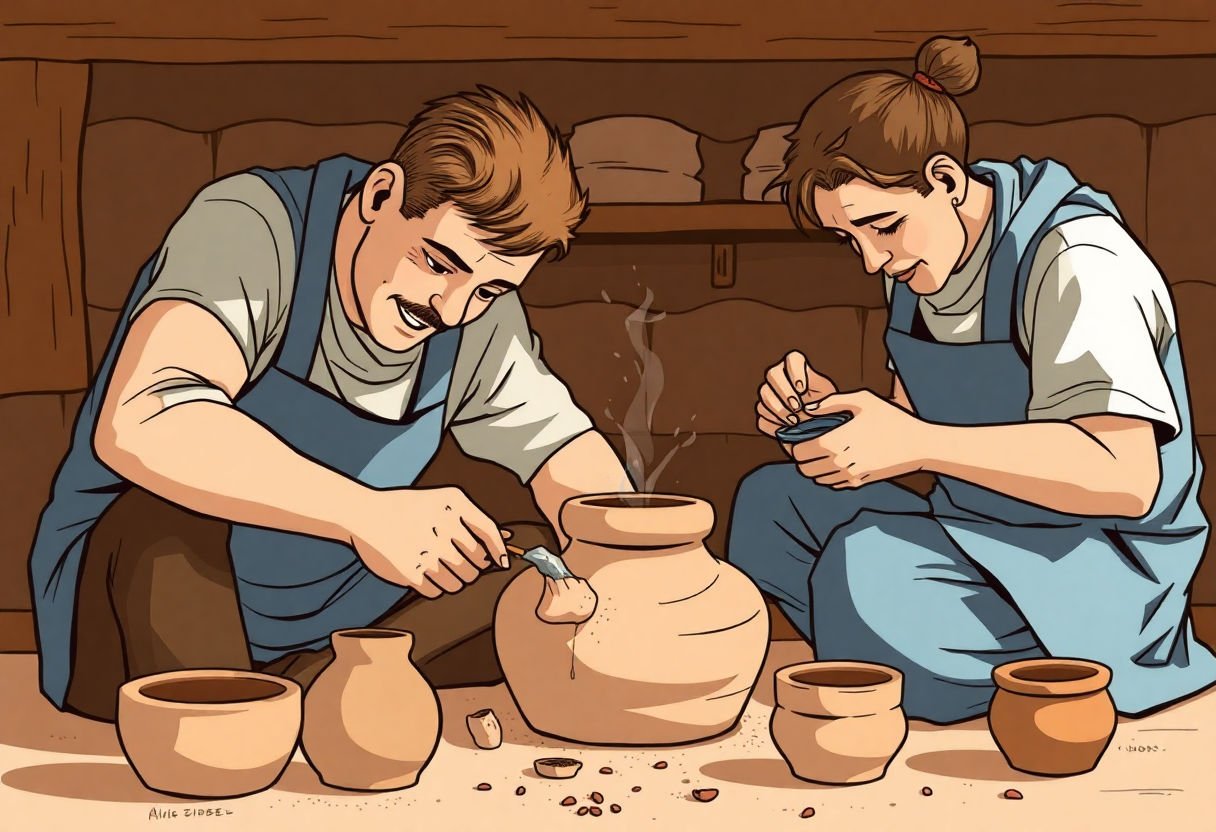
Making Your Clay Mix
Start with air-dry clay from a store. Open the package and cut a chunk. Knead this piece for about five minutes. It should feel smooth like dough. If it seems dry, sprinkle a little water.
Shaping Your Pot
Form a ball with your clay. Use your thumbs to press into the center. Keep pressing and rotating the clay to form an even bowl shape. The walls should be about half an inch thick. Alternatively, roll clay into a snake-like shape and coil it to build up your pot.
Designing the Surface
Add designs with everyday items. Use a fork to make lines or a pencil to punch small dots. To create imprints, press leaves gently onto the clay. Remove them to reveal their pattern.
Drying
Set the pot on a tray or flat surface. Let it dry for about 24 hours. Turn it over to dry the bottom as well. Make sure it feels hard and dry to touch.
Painting and Sealing
Once dry, paint your pot with acrylic paint. Choose colors that brighten your space. After painting, add a clear sealant to protect the pot from moisture. This step helps if you plan to water your plants.
Optional Extras
Drill a small hole in the bottom for drainage if you use the pot outside. This helps the pot last longer. Use it indoors proudly to hold your little green friends.
Creative Uses of Concrete in DIY Pots
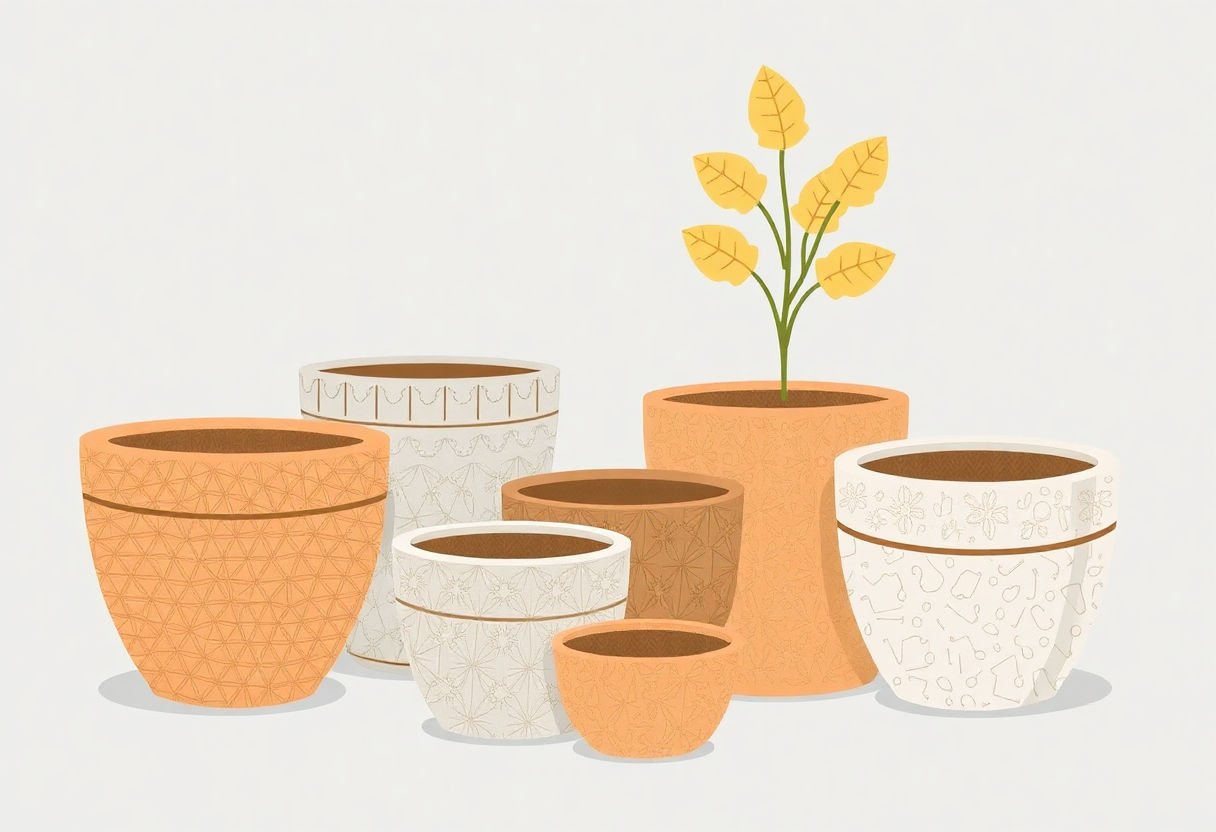
Concrete is a versatile material. You can mold it into many shapes. It is perfect for making unique pots. Even though it is heavy, concrete offers many creative possibilities. Here is how you can use it.
Mixing Concrete for Pots
Mixing concrete is not hard. Use water and a concrete mix. Stir until smooth. Think of pancake batter. Avoid lumps. The mix should be thick.
Molding and Shaping
Use different containers as molds. Try old bowls or Tupperware. Plastic or cardboard molds work too. Pour the concrete into the mold. Tap gently to remove air bubbles.
Unique Designs
Add patterns to your pots. Press leaves or shells into the wet concrete. This makes textures. Use oil to help them release after the concrete sets.
Painting and Decorating
Once dry, paint your pots. Use bright colors. Acrylic paint works well. You can also leave concrete bare for a natural look.
Curing Process
Concrete needs to dry slowly. Curing increases strength. Cover your mold with plastic. Let it sit for a few days. Do not rush this step.
Drilling Drainage Holes
Pots need drainage. Drill small holes at the bottom. Use a masonry drill bit. This helps water flow and keeps plants healthy.
Sealing for Protection
Concrete is porous. Seal it to prevent moisture damage. Use a water-based sealer. Apply after curing.
Concrete pots make great homes for succulents. Each pot can be unique. Enjoy creating your own designs.
Incorporating Recycled Materials
Incorporating recycled materials into your DIY succulent pots makes your project unique and eco-friendly. Imagine transforming everyday items into charming plant holders. Old cans, glass jars, and broken dishes are perfect examples.
Tin cans can serve as robust pots. Start by removing labels and cleaning them. For a bit of flair, paint the cans or wrap them with colorful fabric. Drill small holes in the bottom for drainage.
Glass jars offer a sleek, clear design. To use them as pots, add a layer of stones at the base. This assists with drainage, ensuring succulents do not sit in water.
Broken dishes make creative mosaic designs on larger pots. Break the dishes into smaller pieces using a hammer. Arrange the pieces on the pot’s surface with glue. This adds texture and color, turning a simple pot into a work of art.
Here’s a quick list to get started:
- Tin cans: Clean thoroughly, add drainage holes, and decorate.
- Glass jars: Use with a stone base for drainage.
- Broken dishes: Craft a mosaic design on bigger pots.
Each project not only uses materials you already have but also adds character to your succulents. These pots do more than hold your plants; they tell a story of creativity and care for the planet. Use your imagination, and let your pots reflect your personal style.
Adding Decorative Elements
Adding decorative elements to your DIY succulent pots can make them stand out. Simple additions can transform plain pots into eye-catching pieces.
Paint is a fun way to add color. Use acrylic paint for bright and bold designs. Soft pastels can create a gentle look. You can even try mixing colors for a gradient effect.
Mosaic tiles bring a touch of flair. Glass or ceramic pieces work best. Arrange the tiles in a pattern you like—such as stripes or spirals—and glue them on.
Decorative embellishments can add texture. Try wrapping jute rope around the pot for a rustic feel. You might glue some beads or buttons for a playful touch. Stickers can be fun, too, and are easy to apply.
Consider cutting out a stencil. Spray-paint through the stencil for crisp and clean designs. Hearts, stars, and animal shapes work well.
For extra sparkle, sprinkle some glitter. Apply glue where you want the glitter, then shake the glitter over it. Let it dry, and you’ll have a shimmering pot.
If you love nature, consider using small stones or shells. Glue them around the pot’s rim. It gives the pot an earthy, natural vibe.
These options let you personalize your pots. They help your succulents look great in any space, from the living room to the patio. Experimenting with these elements makes each pot unique.
Care and Maintenance of DIY Pots
To keep your DIY pots looking great, you need to take care of them. This way, they will stay nice and strong for your succulents. Here are some tips to help you.
Cleaning your pots: Dirt and dust can dull the look. To clean, use a soft cloth or a gentle brush. This removes any surface dirt. For deeper cleaning, rinse with warm, soapy water. Avoid harsh chemicals as they might damage the pot’s surface.
Handling tips: Be careful when you handle your pots. If they are made of clay or concrete, they might be heavy and a bit fragile. Always lift them from the base. Do not pull on the sides.
Weather considerations: Sun and rain can affect your pots. Too much sun may fade colors. Rain can wear them out faster. Keep them in a shaded or protected spot. If they stay outdoors, think about sealing them. A clear sealant can add a layer of protection.
Winter care: If you live where it gets cold, think about bringing your pots inside during winter. Freezing temperatures can crack them. If you cannot bring them in, cover them with a cloth or move them to a sheltered place.
With these tips, your DIY pots will not only look good but also last longer. Your succulents will stay happy, and your pots will continue to be a beautiful part of your home or garden.
Replicating Nature: Natural Elements in Pot Design
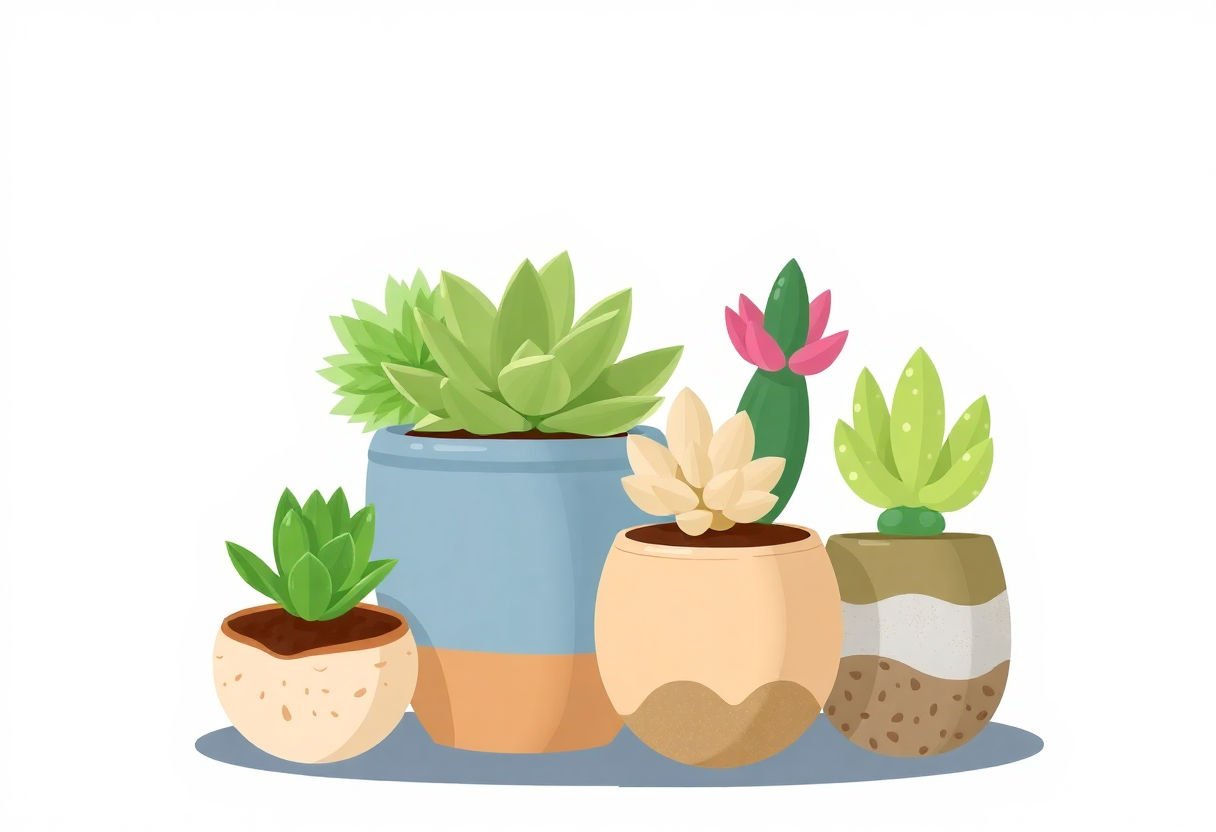
Imagine holding a pot that mimics nature’s beauty. You see a clay pot with smooth stones glued around its edges. This creates a rocky look, perfect for a desert-themed room. Adding natural textures to your pots enhances their charm and blends them with the plants.
Consider using wood to bring warmth and earthiness. Pieces from fallen branches can create a rustic pot look. Attach them as a border around the pot for an organic feel. The rough and smooth surfaces make it intriguing to touch.
Use leaves and foliage as inspiration. Press dry leaves into wet clay for a beautiful imprint. The patterns of the leaves leave a striking design once the pot hardens. This approach captures the leafy environments where many succulents thrive.
For an added touch, a pot can include seashells. These give a coastal vibe, especially for beach lovers. Glue seashells around the base of the pot. The mix of shells and succulents reminds one of warm, sandy beaches.
Here are things you could try:
- Mix stones and wood for a balanced look.
- Layer different leaf imprints for depth.
- Combine shells with sand textures for a beach theme.
Using natural elements injects personality and life into your pot designs. Embrace nature’s features to create pots that are as unique as the plants they hold.
Conclusion
Creating custom succulent pots adds a unique touch to any space. From crafting with clay to using recycled materials, every project enhances both interior and exterior decor. These handmade designs provide a sense of accomplishment and creativity. As you experiment, remember the joy in blending craftsmanship with nature. With practice, your pots will not only house your succulents but also reflect your personal style and artistic flair. Keep exploring and let your passion for DIY projects bloom.
Frequently Asked Questions
How can I choose the best material for my succulent pots?
When picking a material, think about durability and plant health. Clay and concrete work well. Recycled items can add a personal touch. Choose what fits your style and needs.
What are some simple designs for beginner succulent pot makers?
Start with basic shapes. A plain round or square pot is a good choice. Use simple colors or patterns. Add little textures or etches for flair without stress.
How do I ensure my pots are functional as well as beautiful?
Check that the pot has drainage holes. This helps keep succulents healthy. Choose materials that allow plants to breathe and thrive. Balance beauty with the right size and shape for your plant.
Can I use household items to make succulent pots?
Yes, many household items work well. Consider old mugs, tins, or even broken dishes. These items turn into unique pots with a bit of creativity.
What steps are important for caring for my handmade pots?
Handle your pots gently. Clean them with soft cloths. Protect them from extreme weather if they’re outside. Proper care keeps them looking great and lasting long.
